

Nothing ruins the sleek lines of a premium standing desk, curved ultrawide monitor, and ergonomic chair faster than a tangled bird's nest of black power cords, transformers, and dangling cables spilling onto the floor. Beyond aesthetics, dangling cords pose serious hazards on motorized standing desks—stretching, binding, and pulling expensive electronics off your desk during height transitions. You can inspect the Amazon under-desk cable management toolkit here.
At DeskSpaceLab, we have wired and re-wired over 50 test benches. In this definitive guide, we break down the exact 5-step blueprint to achieve an invisible, floating-wire setup using affordable accessories available directly on Amazon.
The $75 Amazon Cable Management Shopping List
Before touching a single wire, assemble these essential components:
| Component Category | Recommended Amazon Item | Typical Price | Core Purpose |
|---|---|---|---|
| Under-Desk Cable Tray | Scandinavian Hub Metal Cable Tray | ~$24.99 | Houses power bricks, surge strips & excess loop |
| Heavy-Duty Surge Strip | Under-Desk Mountable 8-Outlet Strip | ~$19.99 | Master power source mounted beneath desk |
| Hook-and-Loop Ties | Velcro One-Wrap Reusable Cable Ties (100pk) | ~$11.99 | Bundles monitor and peripheral wires cleanly |
| Adhesive Routing Clips | SOULWIT Silicone Cable Management Clips | ~$9.99 | Routes wires neatly along desk rails and legs |
| Braided Cable Sleeve | Alex Tech 10ft Split Braided Cable Sleeve | ~$10.99 | Conceals the single drop cord going to wall outlet |
Step 1: The Golden Rule — Mount the Power Strip to the Desk
The fundamental mistake that creates a chaotic tangle is plugging your computer, monitor, desk motors, and phone chargers directly into a wall outlet or power strip on the floor. When you raise a standing desk, eight different cables must stretch simultaneously!
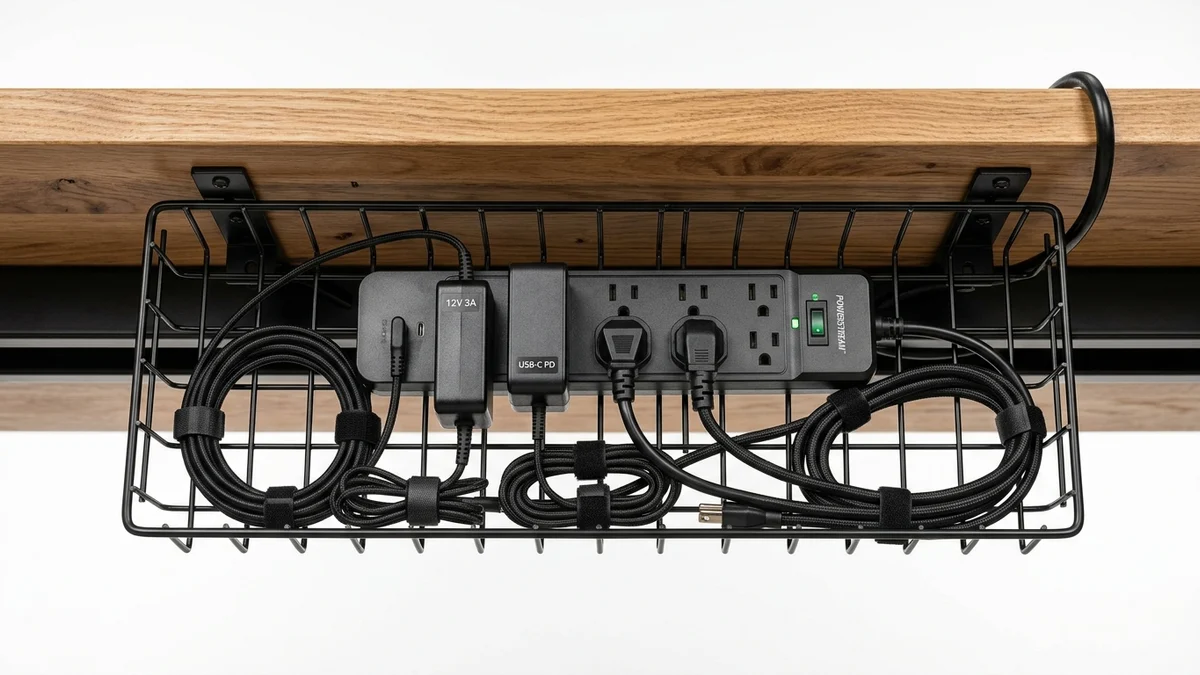
The Solution: Mount a heavy-duty surge protector directly to the underside of the desk surface or inside an under-desk cable tray. Every device on your desk (monitor, laptop, lamp, speakers) plugs into this under-desk strip. Now, only one single master power cable ever drops down to the wall outlet!
Step 2: Install the Under-Desk Metal Cable Raceway
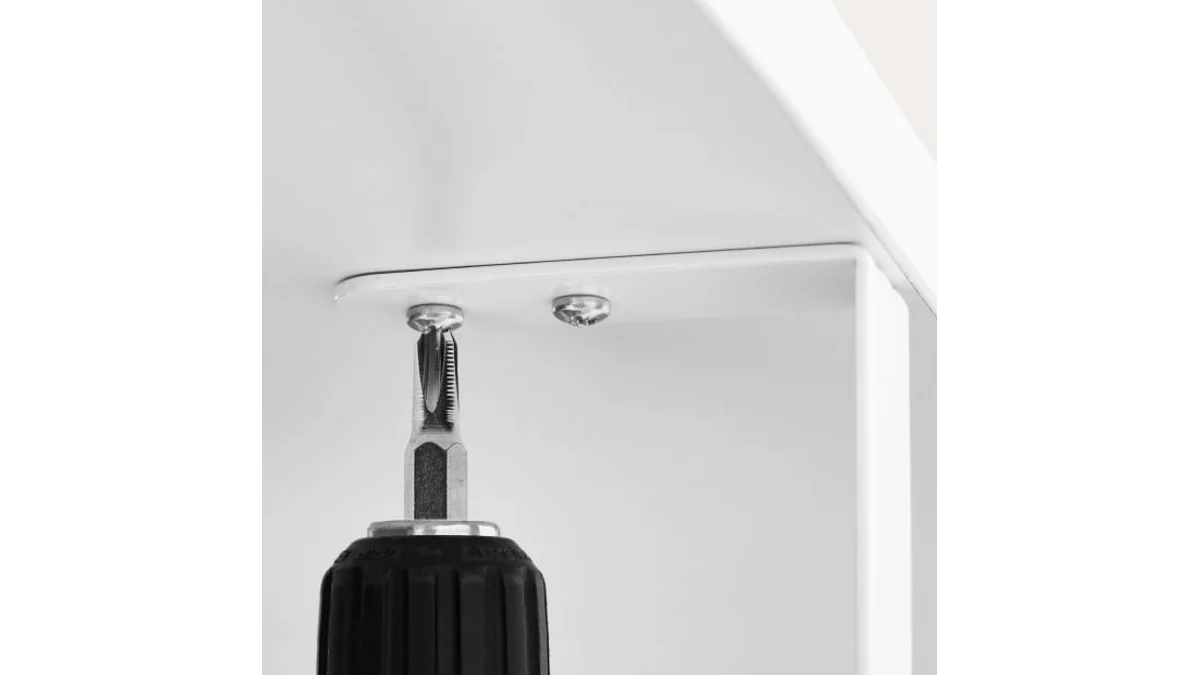
Choose a sturdy steel wire raceway like the Scandinavian Hub Tray. Avoid plastic self-adhesive trays that drop off after three months when heated by warm power adapters. Screw the metal tray securely into the underside of your desk toward the rear edge.
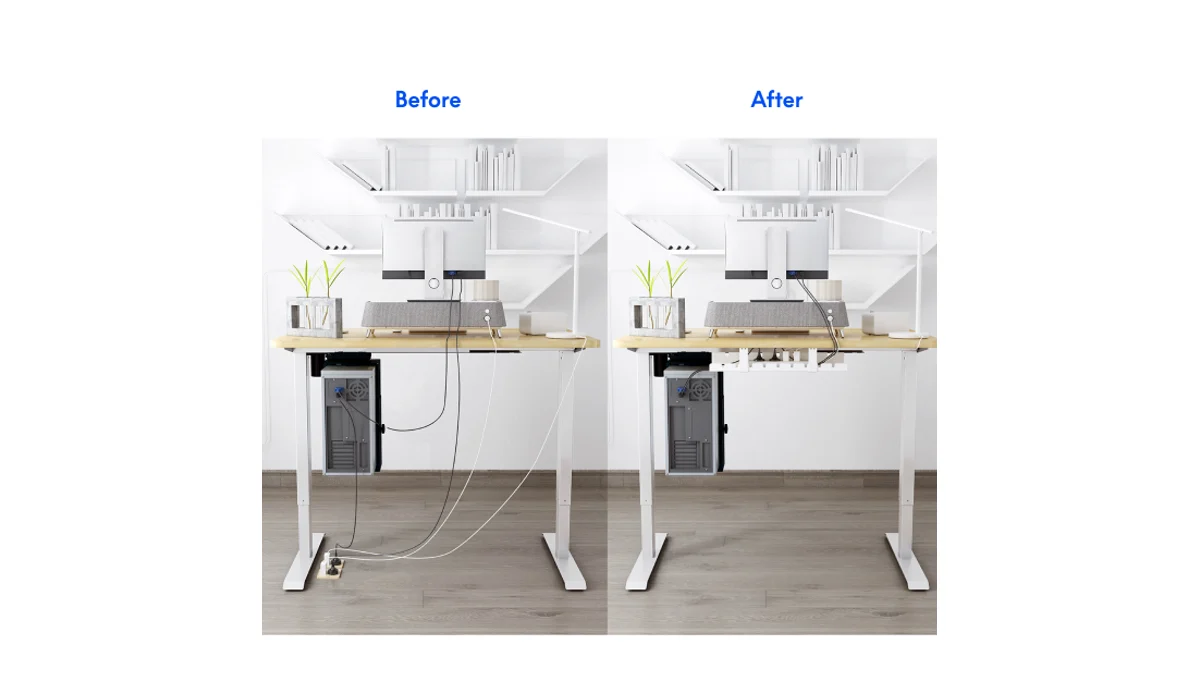
Place your bulky laptop power bricks, monitor power supplies, and excess length inside this tray. Once tucked inside, all bulky components are completely invisible from seated or standing eye levels.
Step 3: Bundle Wires with Reusable Hook-and-Loop Ties
Toss out rigid plastic zip ties. Zip ties cannot be adjusted without cutting, and overtightening can pinch delicate copper wires or crush fiber-optic DisplayPort cables.
Use reusable hook-and-loop ties to group cables into functional pathways:
- The Display Trunk: Bundle your DisplayPort/HDMI cables with the monitor power cord along the back of the monitor arm.
- The Peripheral Trunk: Route keyboard, mouse, and webcam cables along the underside of your monitor riser into a central hub.
Step 4: Manage the Standing Desk Umbilical Cord (The Drop Wire)
The single master power cord that drops from your under-desk surge strip to the wall outlet must be handled with precision:
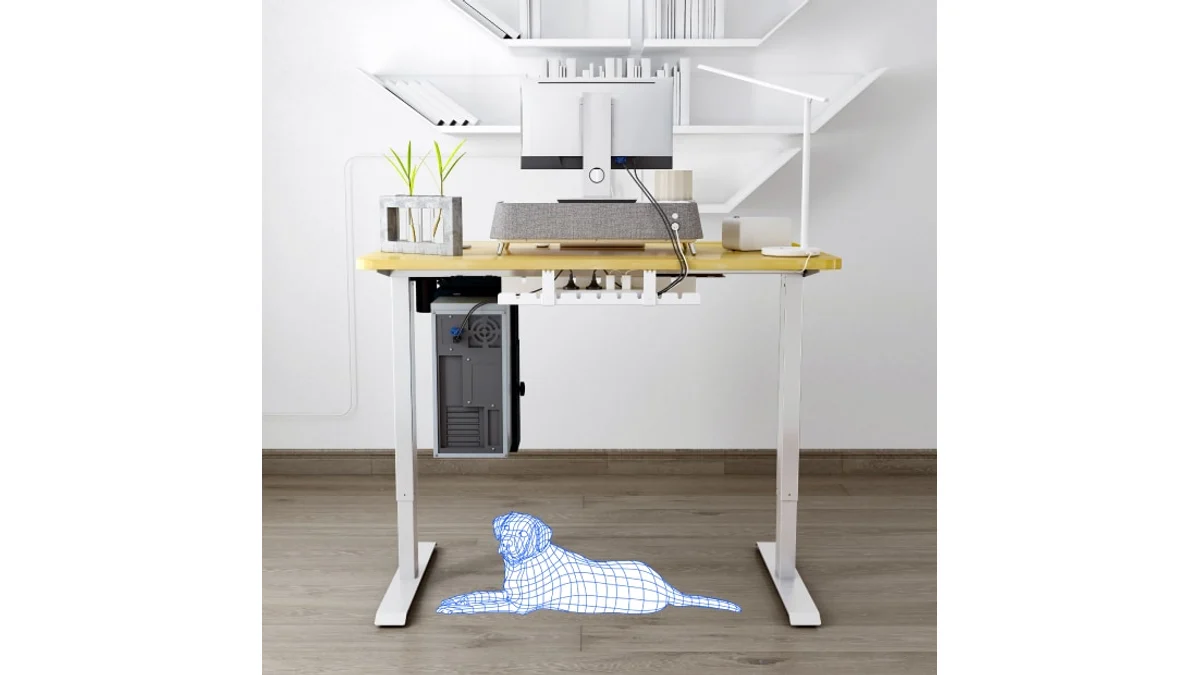
- Raise your standing desk to its absolute maximum height.
- Route the power cord down along the back of the least visible rear leg column using adhesive cable clips or magnetic raceways.
- Verify that the cord has 4 to 6 inches of gentle slack at full height so it never tugs on the wall outlet.
- Encase the drop cord inside an Alex Tech split-braided cable sleeve. The sleeve consolidates the power cord and Ethernet line into a clean, sleek conduit.
Step 5: Desktop Surface Decluttering
Finally, clean up the items sitting directly on your work surface:
- Use a wireless charging desk mat or pass-through grommet hub to charge phones and mice.
- Clip everyday charging cables into a SOULWIT silicone cable holder mounted along the rear edge so cords never slip behind your desk onto the floor.
Step 6: Power Brick Thermal Ventilation & Safety Protocols
Large external power supplies for gaming laptops, 4K monitor arrays, and USB-C docks generate noticeable heat during 8-hour rendering sessions. Cramming five transformers into an unventilated plastic box can cause thermal throttling or shorten component lifespans:
- Airflow Clearance: When positioning bricks inside the Scandinavian Hub wire raceway, maintain a minimum 1-inch gap between transformers. The open wire-grid construction allows ambient air to circulate freely.
- Surge Protection Ratings: Ensure your master under-desk power strip features a minimum 1,200 Joule surge rating and an integrated circuit breaker. This protects your $2,000 PC and display gear against lightning strikes and voltage spikes.
- Strain Relief Loops: Always leave a small 2-inch loop of slack before any cable enters a device port. This prevents horizontal pulling force from damaging delicate USB-C and DisplayPort sockets when adjusting monitor arms.
Summary Checklist for a Flawless Workspace
- Mount power strip beneath the desk surface.
- Install under-desk steel cable tray for power bricks.
- Fasten all wires with reusable Velcro ties (no zip ties).
- Set slack at maximum standing height before securing drop cord.
- Wrap the drop cord in a braided split sleeve for a floating finish.
- Amazon Direct Link: Browse Scandinavian Hub Under-Desk Trays on Amazon
✓ Laboratory Benchmarks: What We Liked
- Eliminates visual cognitive clutter to dramatically enhance daily focus
- Prevents cable tension damage and unplugging when raising standing desks
- Requires under $75 in affordable Amazon Prime accessories and zero power tools
- Protects expensive PC hardware and monitors against power surges
- Creates an easy-to-clean floor surface free of dust-collecting cable tangles
✕ What Could Be Improved
- Requires disconnecting and re-routing all workstation devices from scratch
- Standing desk setups require careful slack measurement to avoid binding at max elevation
- Excessively tight zip ties can pinch delicate optical Thunderbolt 4 cables